
Here are the following steps to making a photogram :
1)Setup your work station before starting anything, it is always important to prepare your ideas and concepts before starting the process
2) Once your ideas are arranged in your head, your items ready for setup and your work station ready with all the needed chemicals, you are good to start ! Turn off the lights in your room, and make sure no one opens nor barges in your room, the paper is highly sensitive to light and so any light source entering from outside your room can potentially ruin the whole given process. Not to mention that of your classmates as well.
3)Take your light sensitive paper and start to arrange your items in any stylish fashion. Make sure you turn a orange or blue safe light on for visibility. Be as creative as possible, make that brain of yours work !
4) Once your items are setup, grab any light source at your disposition ! a phone works perfectly ! expose your picture for 5-10 seconds. Note that by shortening or lengthening the time of exposure you can control how dark you want the background of the silhouettes to be. The shorter the time, the lighter the shade ! Fairly straightforward my friends !
5) Once your paper exposed you are ready to develop ! Have your developer, your stop and your fix bath ready. Once you feel brave and confident place your light sensitive paper in the developer bath for 1 minute. Make sure that the paper sits at the bottom of the bath or chemical won't develop your whole image. Note that it is required to shake often in all of the three chemical process.
6) When one minute has passed, grab your image with a pair of tongs and place it diagonally in the air like that of a diamond shape so that all of the chemical drip off the paper.
7) Once all of the chemicals gone, place in your stop bath for 30 seconds, again make sure that the paper sits at the bottom of the bath. Shake regularly.
8) When thirty seconds has passed, grab your image once again and place it diagonally as previously explained so that all of the chemical drip of the paper.
9) Once the paper dry, place in your fix bath for 2 minutes. Make sure your paper sits at the bottom of the bath and shake regularly. You are almost there don't give up !
10 ) Once the process is finished, you are free to open the lights. You are also welcomed to gaze in awe at your beautiful piece of art, but wait it doesn't stop there ! Take your image to the sink and soak with warm water for 5-10 minutes.
11) Once soaked and cleaned off all chemicals, bring to dryer. Can't wait to show your image to your family ? well be patient this boring process might waste 1-2 minute of your life. No worries, once the dryer has done its job your picture is good to go !
12) Show your beautiful photogram to friends and family.
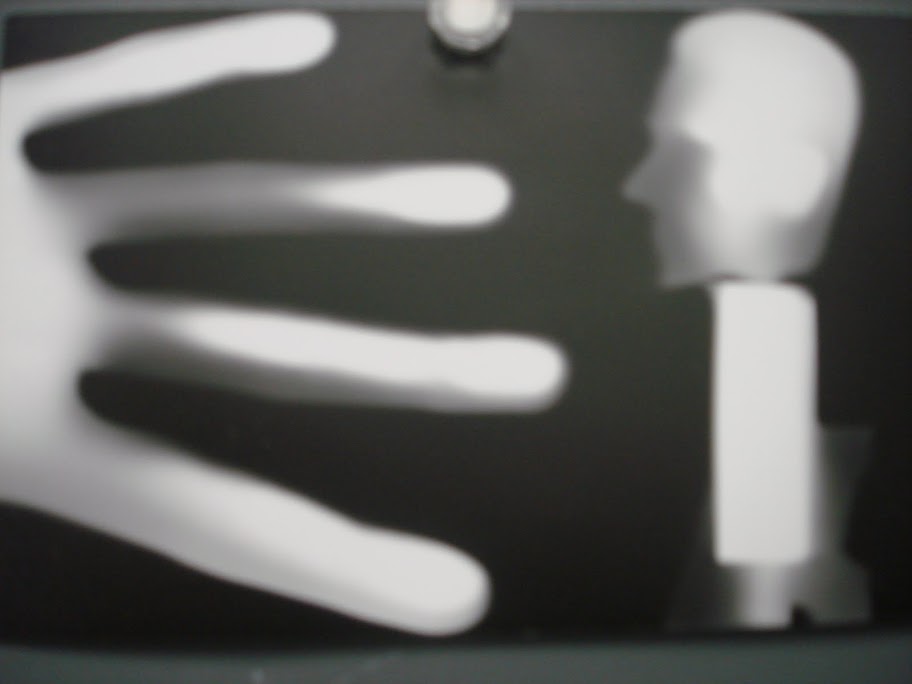 |
The Man And The Hand By Aaron Leroy |
Click Here For Photograms Of Other Students :)
great description! thanks!
ReplyDeleteAn accurate definition of a photogram is "radiating energy effecting a sensitized surface." This gets rid of the object and always light.
ReplyDeleteI have blown up fire crackers directly 8" x 10" Ektachrome, used fax and xray machines and even put chemicals on my face and pressed it against 8" x 10" black and white film for a while and then put the sheet in hypo fixer. I then blew the image up to 8 feet x 10 feet.
Thanks for refreshing my childhood memories!
ReplyDeletemust have been a shocking childhood
ReplyDeleteso good at explaining, thanks
ReplyDelete